So I like to make things, physical things. The subjects are by no means serious important things. They are simply things I like.
Below is a brief account of the making of the Buster Sword. For those who care, this build is based on a later redesign of the sword, not the original as it appeared in the 1997 Playstation game. The primary challenge of building a replica of this item is its size. The sword is meant to be roughly six feet long, ten inches wide, and one inch thick. A sword of this size made of even the lightest metal would be nearly impossible to wield. Certainly someone like me could hardly light it off the ground. So alternatives were sought.
My first attempt involved using a wooden core, with numerous holes drilled into it to reduce weight.
This was later abandoned for being too heavy still. The other components were shaped from insulation foam.
Appearing behind the sword is a wooden dummy.
This first build was too heavy, and was also mangled in the subsequent step (not shown here) in which I attempted to laminate the outside surface with fibreglass and polyester resin. The foam is delicate, and polyester resin dissolves it.
So it was onto attempt number two.
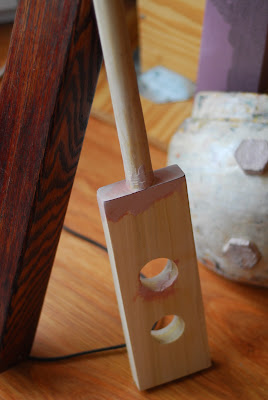
This time, I discarded the wooden core, but retained a wooden handle and part of the blade. Here, two layers of wood are laminated together.
The edges were extended and finished with Bondo, as necessary.
The handle portion was rounded. This basically involved using a hand rasp, sand paper, and patience.
The blade was once again fashioned from insulation foam, but with a cutout for the wooden paddle. The edge of the blade was shaped with sand paper.
Here the pieces were brought together, and preparations were made for fibreglassing the surface again. However, this time, I would use epoxy resin, which doesn't dissolve the foam.The sheets of fibreglass were laid on each surface sequentially, and the resin applied with a spreader. I did not create this technique; this is a common process for making surf boards.
After the resin has cured, the excess fibreglass was trimmed off. Everything sanded again.
Seen below is what would become the pommel. It was a cylinder of polyurethane plastic that I filed and sanded into the shape seen.
The opposite end of the sword, the tip, was also coated in polyurethane. This would ensure the tip would be strong enough to sustain the weight of the sword when stuck on the ground upside down. After the makeshift pour mould was removed, this tip would need to be sanded down to match the contour of the blade.
The white are pieces of styrene, often used by model train hobbyists. These were cut and shaped to form the hilt. The grey guck around the handle is a product called Apoxy Sculpt. It is applied like clay and dries hard. It can then be sanded and carved.
These are the pieces of the hilt coming together. A few steps have been skipped. The pattern on the hilt was shaped from Apoxy Sculpt as well.
After much sanding and smoothing, first coat of primer was applied. Imperfections noted.
More sanding and smoothing was required.
After all additional adjustments, a contrasting coat of primer was applied in anticipation of painting.
A few steps skipped again. The sword was painted. Here scrap leather is being stitched around the handle.
Nearly done.
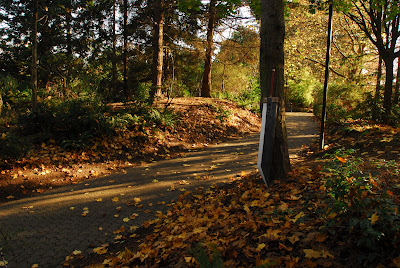
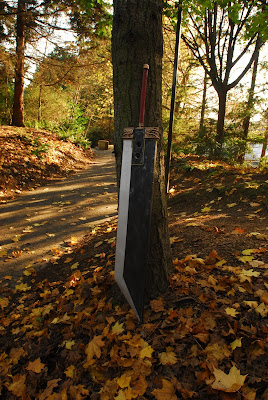
Buster Sword.


No comments:
Post a Comment